Creating the Android Where's My Phone App Using the Android SDK
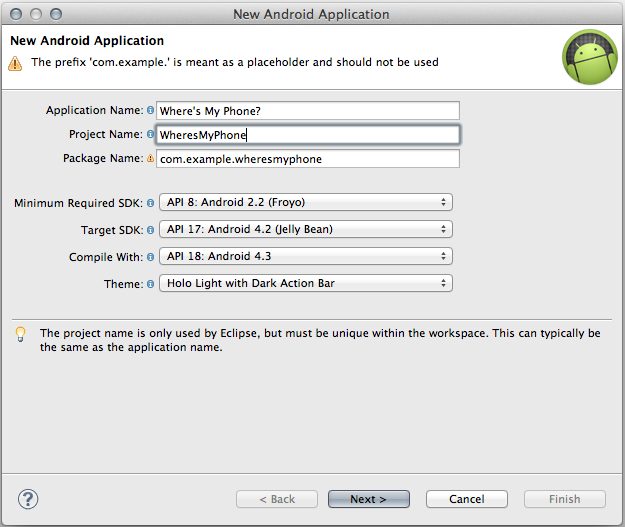
1. Start a New Android Application. Name the app and set some properties. Click Next.
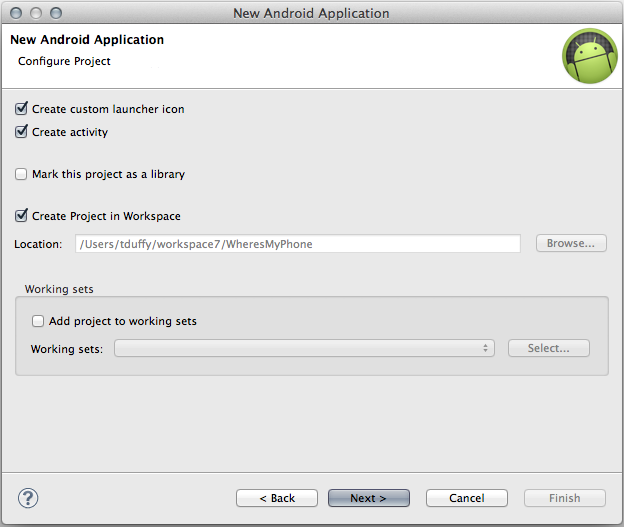
2. The defaults are fine for the next screen. Click Next.
3. Defaults are fine again for the Launcher Icon. Click Next.

4. Create a Blank Activity. Click Next.

5. I changed the Layout Name to main. That's optional. Click Next.
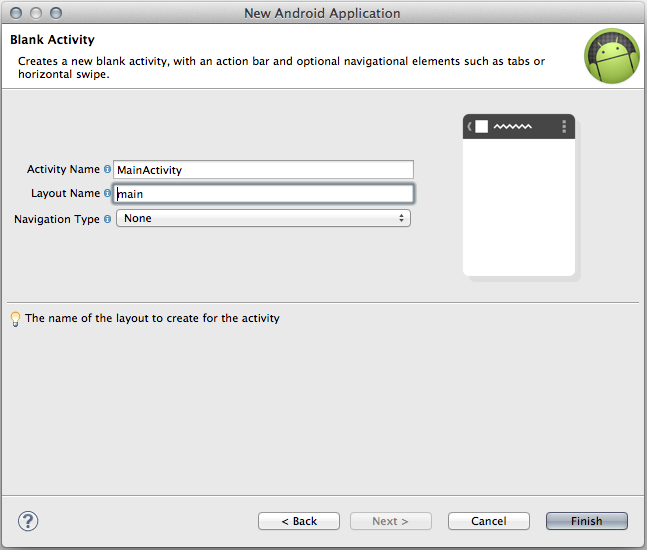
6. After the project is built, open the Layout Name file and draw the UI. It should look something like:
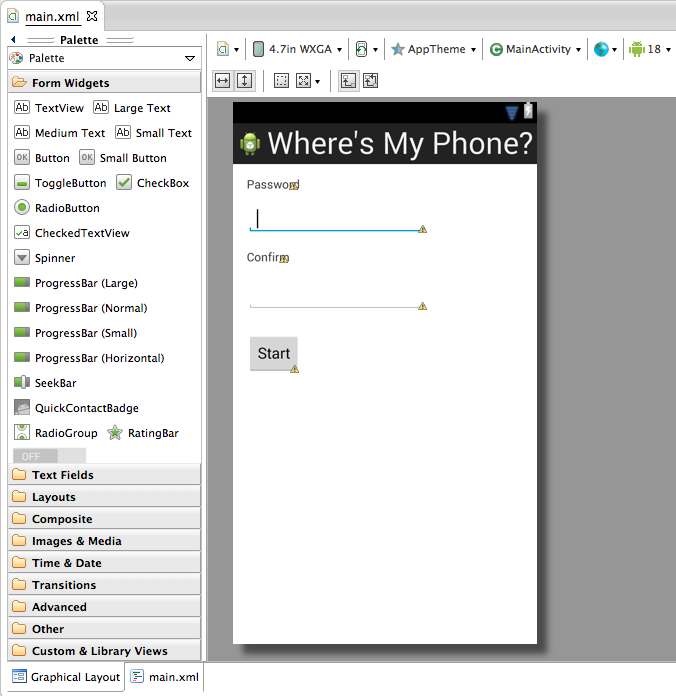
7. The code for the Main Activity is unchanged. Copy it directly from the book. To create the BroadcastReceiver, right-click the package node and choose New > Other. Select the Android Object Wizard. Click Next.

8. Select the Broadcast Receiver template. Click Next.

9. Name the Class WheresMyPhoneReceiver. You can leave the Exported and Enabled checkboxes checked. Click Next.

10. You will need to set the permissions manually as specified for the location services. Add the permissions for Sending and Receiving SMS messages when you add the permission for the location services. The code for the Broadcast Receiver is unchanged from the book.

11. After you have coded the Broadcast Receiver, you will need to manually add an intent filter to the AndroidManifest.xml file. Double-click the file to open it in the editor. Scroll down to the Application Nodes Section, click on the WheresMyPhoneReceiver node and click Add.

12. Choose Intent Filter and click OK.

13. Then, highlight the Intent node you just created and click Add. Click on the Action element and click OK.
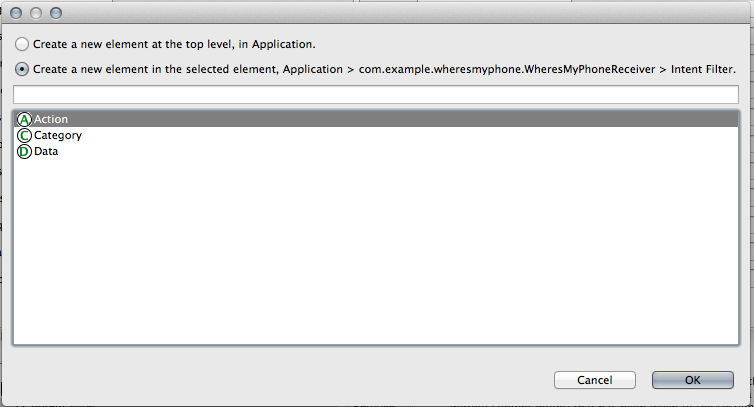
14. In the Attributes section, type in android.provider.Telephony.SMS_RECEIVED. Save the file.

15. To access the Emulator Controls, Choose Window > Open Perspective > DDMS. The Emulator Control tab should be visible along the top of the perspective. Be sure to send your app new GPS coordinates or the LocationChanged event won't fire. This will cause the loc variable to be empty and could potentially throw an Exception. To return to the default editing perspective, choose Window > Open Perspective > Java.

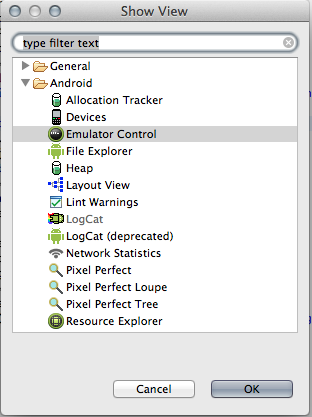
16. You can view the Emulator Control in the Java perspective by choosing Window > Open View > Other. Then expand the Android node and choose Emulator Control form the list. To make this permanent, save the perspective by choosing Save Perspective As from the Window menu.
