Hello Windows Phone 8!
You can still download the SDKs for Windows Phone 7.0 and 7.5 on the Windows Phone Dev Center site:
http://dev.windowsphone.com/en-us/downloadsdk
However, if you'd rather use the Windows Phone 8 SDK to create the apps in the book, here's how to do it. For this short tutorial, I'll create the Hello Windows app in How-Tos 7-1 and 7-2 that begins on p. 226.
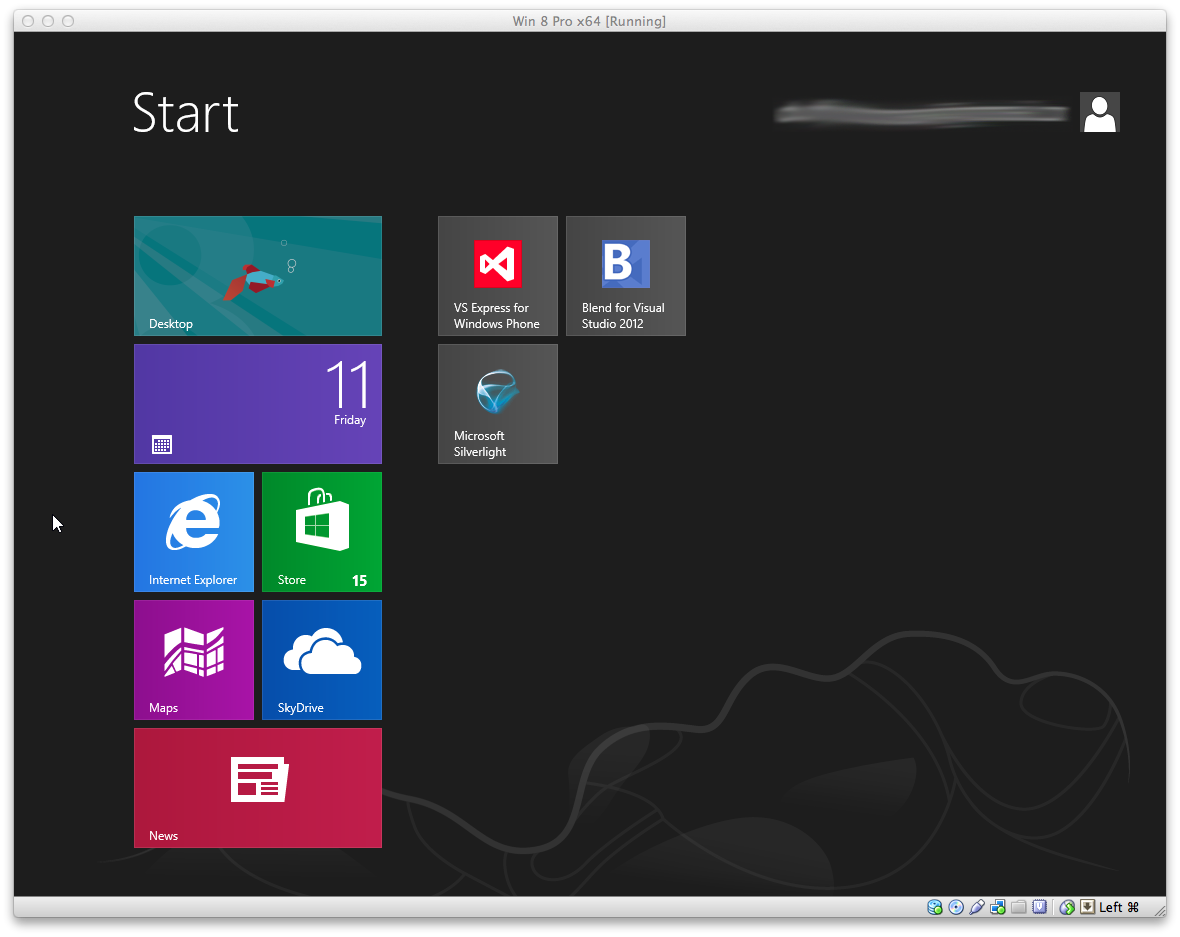
1. Start VS Express for Windows Phone
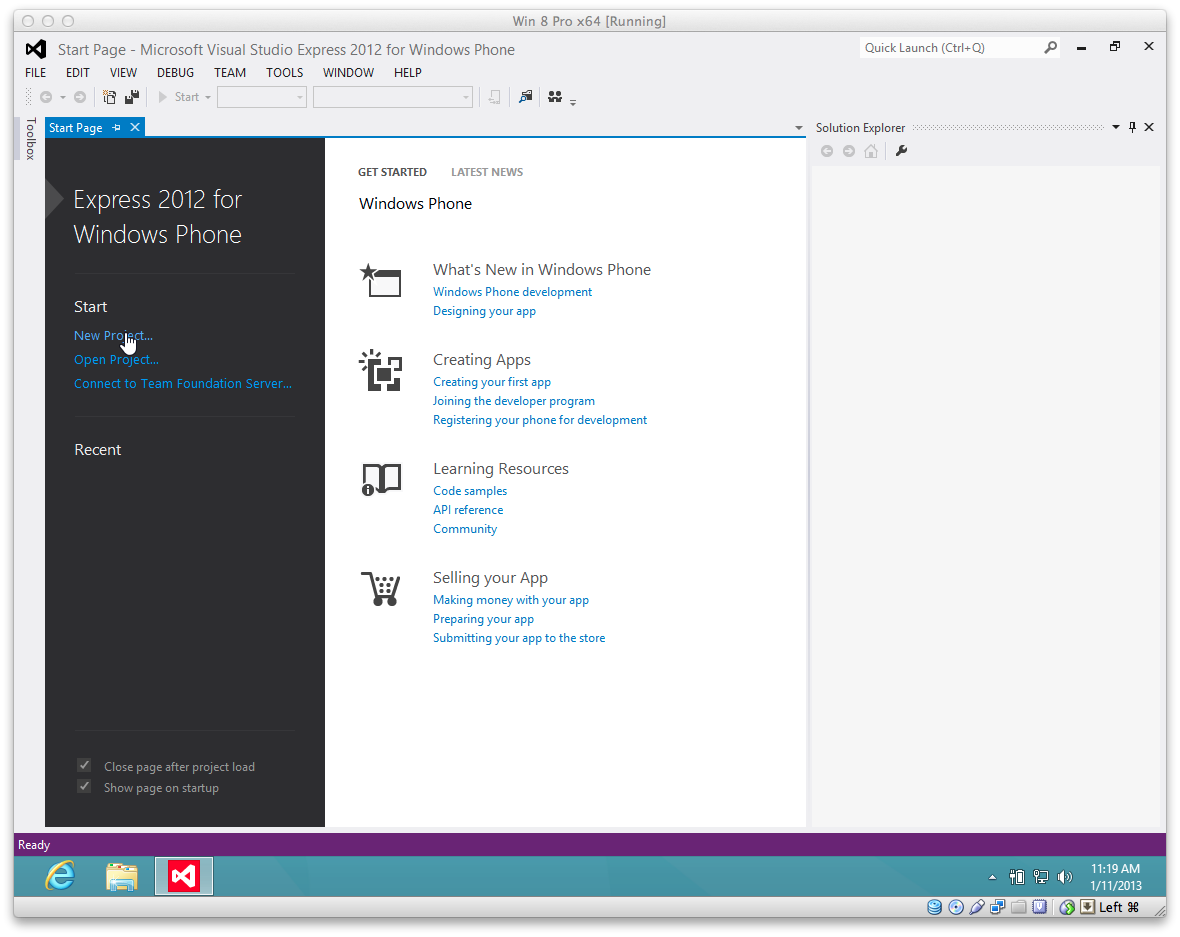
2. Choose the New Project link.
3. Choose to create a Windows Phone App. Give both the app and the Solution a name and click OK.

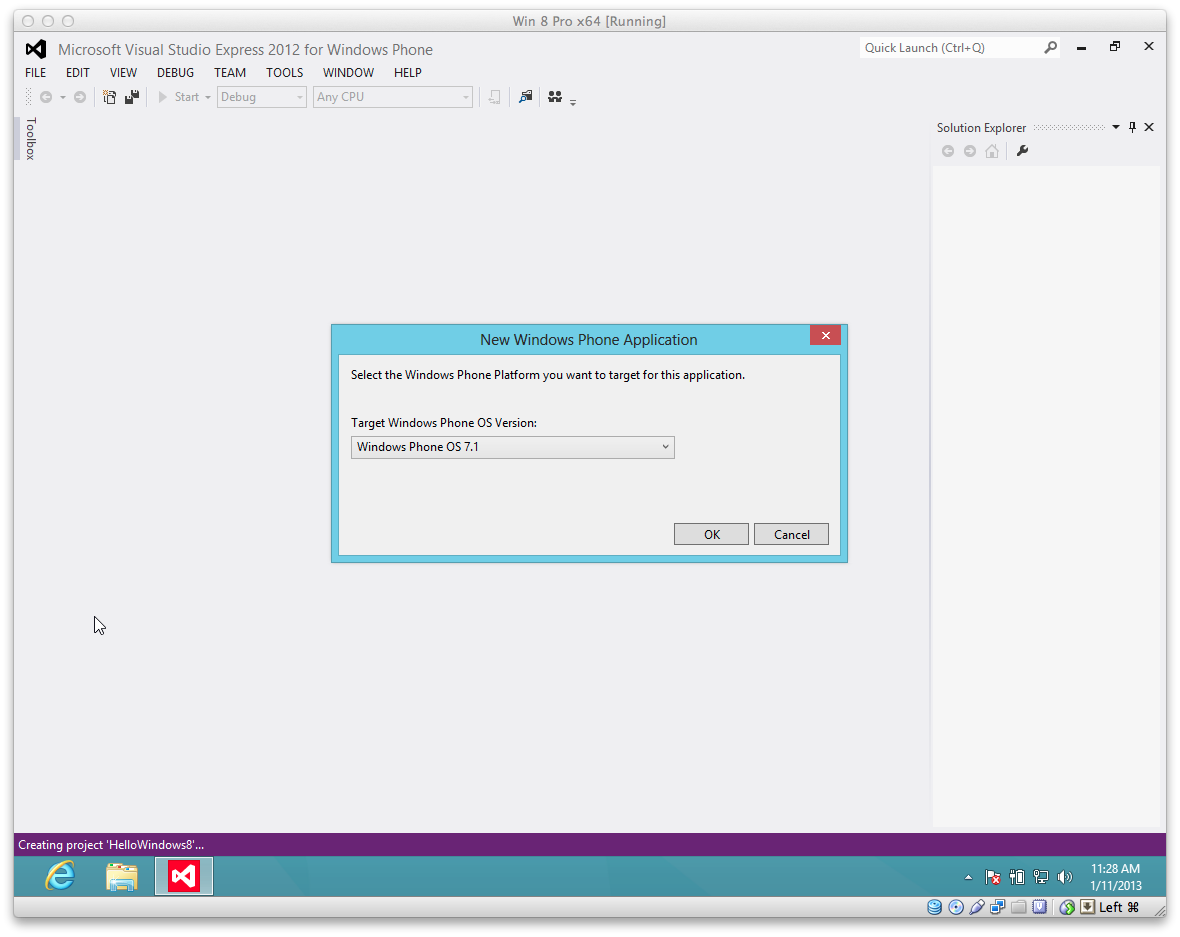
4. For the same reason you should target Gingerbread on Android, target Windows Phone OS 7.1. This ensures that your app supports as many target devices as possible. Windows Phone 8 devices support apps written for Windows Phone 7.
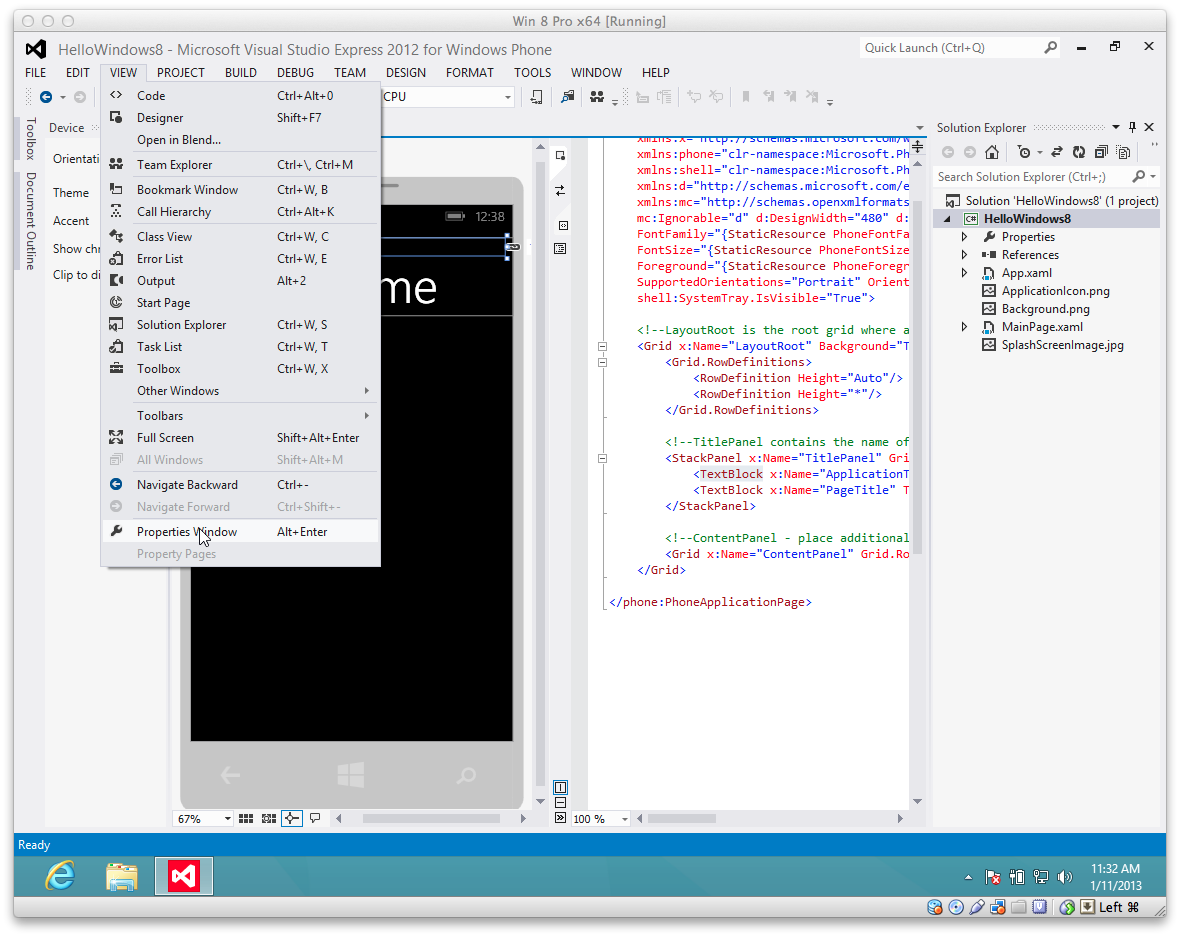
5. If the Properties Window isn't visible, select it from the View menu.
6. Click the TextBlock component displaying "MY APPLICATION," and in the Properties Window, set the Text property to your name.
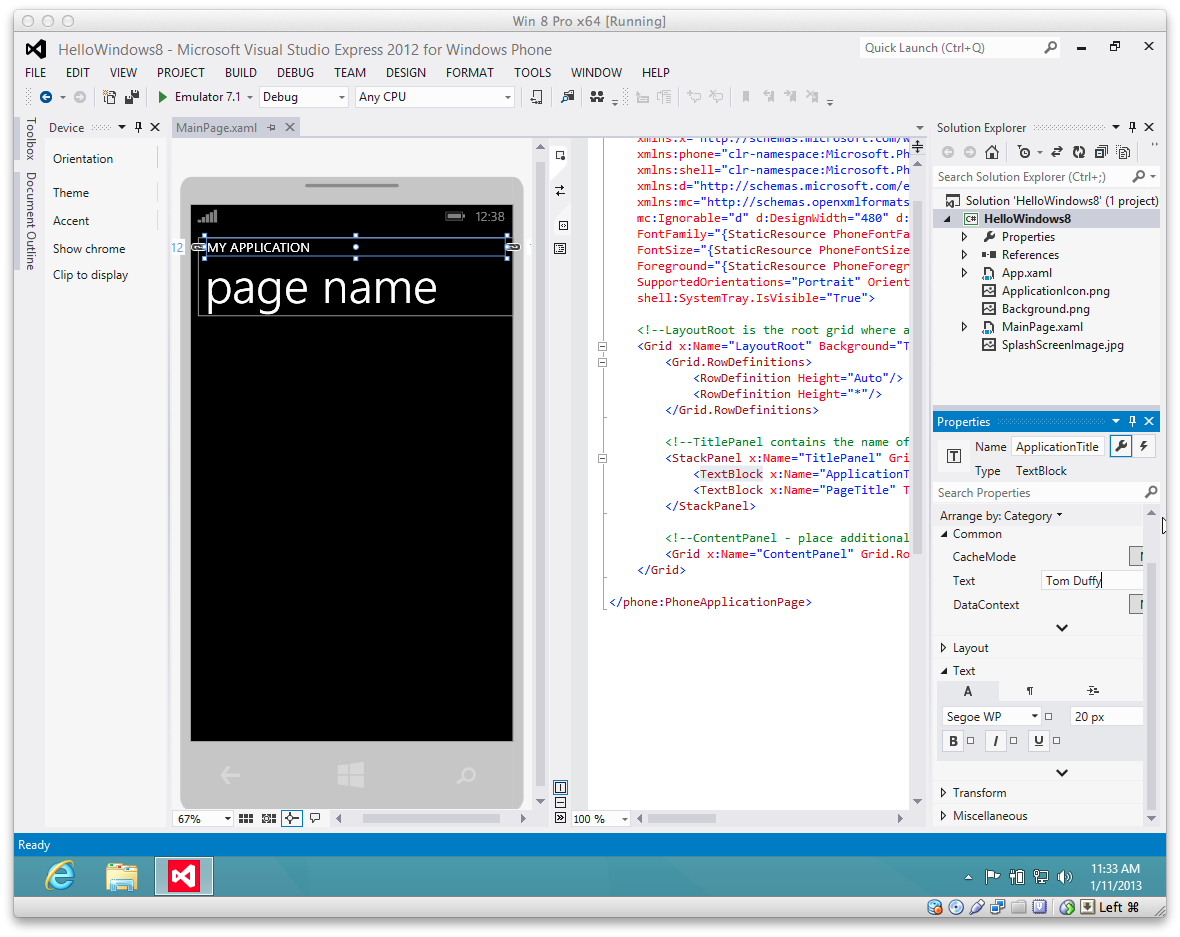
7. To set the App's title, click the TextBlock containing "page name." Set its Text property to "Hello Winodws Phone 8." Almost certainly, you will need to resize the text so that all of it is visible. Do this by expanding the Text node of the Properties Window and changing the size. I chose 36 px.

8. Click the Toolbox icon in the upper-left corner of the design area to display the available Windows Phone controls.

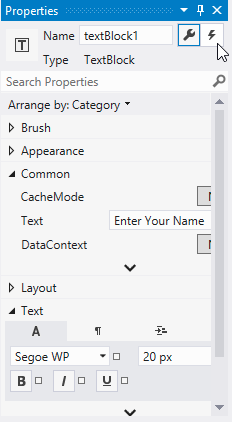
9. Click the TextBlock component and drag and drop it onto the form designer. Drag the TextBlock to the top of the form and then resize it so that it takes up most of the width. Guidelines appear to help you with placement. Set the Text property of the TextBlock to "Enter Your Name." IMPORTANT: Visual Studio no longer gives controls you add to your apps default names. You must give any controls to which you will refer in code a name in order to access them. Set the Name of the TextBlock to textBlock1.
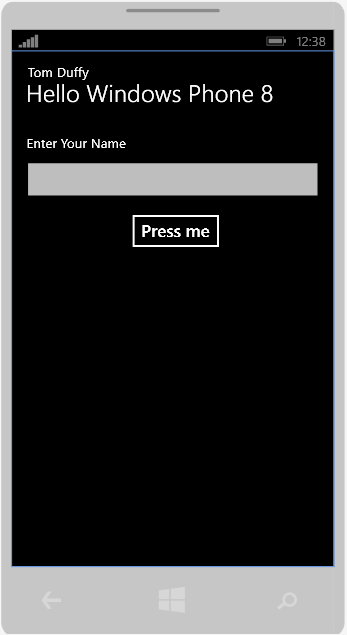
10. Drag a TextBox to the form designer and position it beneath the TextBlock. Set its Name property to textBox1 and clear the Text property (i.e. set it to an empty String). Resize the TextBox so that it fills most of the width. Drag a Button control to the form designer, position it beneath the TextBox and set its Content to "Press Me." When you are finished, your UI should look like the following:
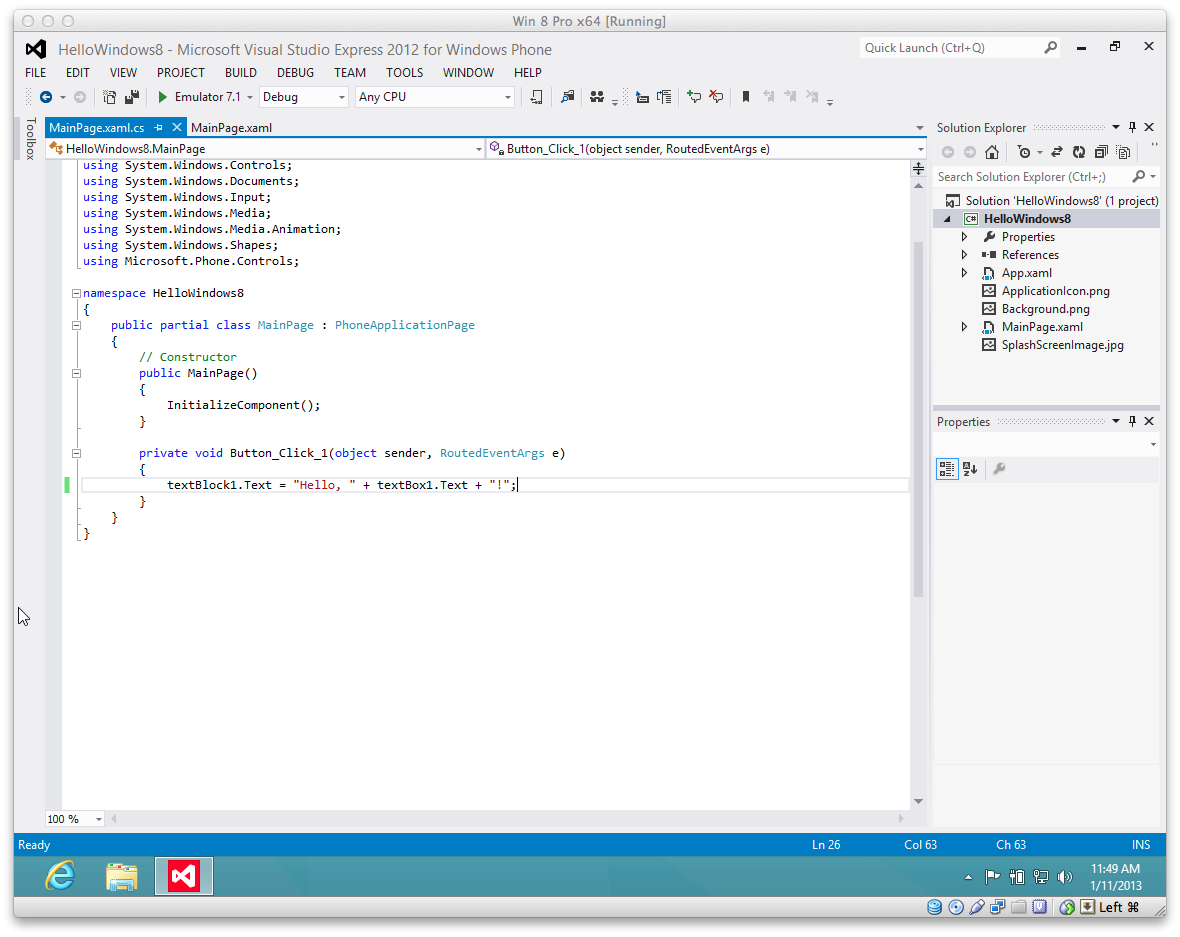
11. Double-click the Button control you added to the form designer. The default action for a button is a click event, so Visual Studio opens the code file where you can edit the click event. To do that, add the following code to the Button_Click_1 event:
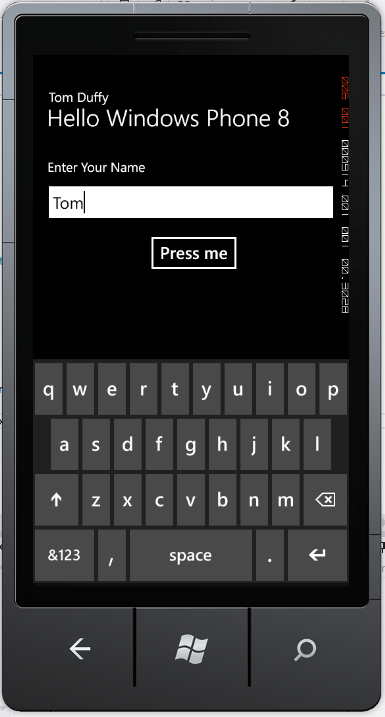
12. On the toolbar, make sure that Emulator 7.1 is selected and press the green triangle button to start the emulator and run your app (This can take a LONG time). Click the TextBox and enter your name.
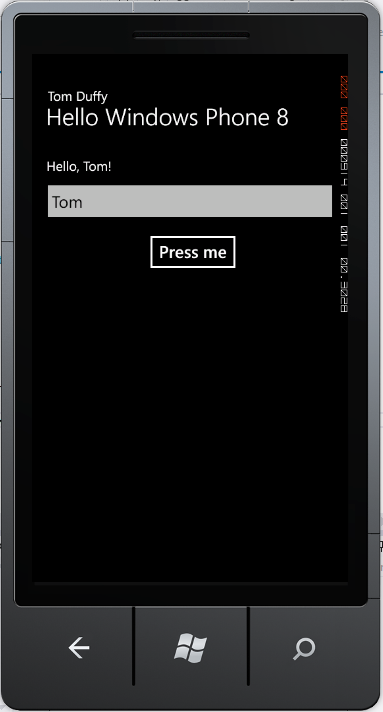
13. Then click the Press Me button to display the results.
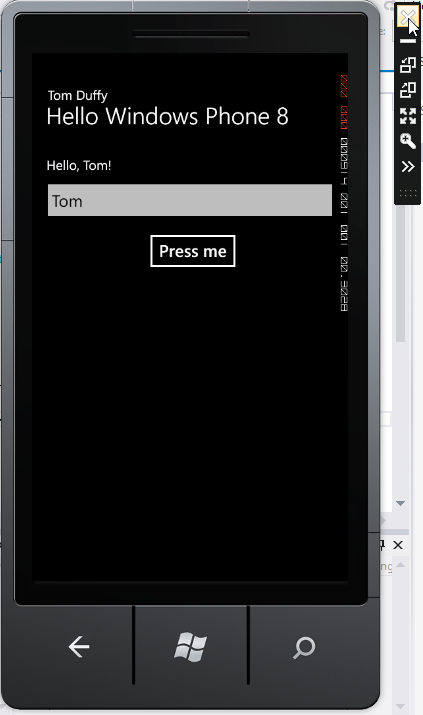
14. The controls for the emulator remain unchanged.
Outside of having to name the controls you place in your apps, the new SDK is VERY similar to the one used in the book.