This has been fixed - download and install MOTODEV Studio 4.1 or Update MOTODEV Studio from the MOTODEV menu
MOTODEV Studio 4.0 - Jelly Bean Workaround - 7/13/2012
Problems:
- The current full-installation version of MOTODEV Studio 4.0 is incompatible with the Android Jelly Bean Release
- The Android SDK Manager has a known bug in the Jelly Bean release
Solution: Download and install components manually.
Google recently released Android 4.1 - codename Jelly Bean - and its associated SDK: r20. As of this writing, the full installation of MOTODEV Studio is incompatible with Jelly Bean. Instead, it includes the Ice Cream Sandwich SDK: r18. Google's download pages only point to the r20 SDK and installing it inside Studio renders it useless. You can't write apps, create Android Virtual Devices, or download components. The SDK manager won't display legacy components. This is a known bug.
You can, however, use Studio to create Jelly Bean apps - but you have to use the Studio Plug-In for Eclipse, not the full installation. See this blog post to determine if this is the right approach for you. I'm not going to cover the plug-in route. Following is a workaround to get a clean install of Studio 4.0 for Android up and running.
To install MOTODEV Studio and build the apps in the book, follow these steps.
1. Download the Installer for your OS - http://developer.motorola.com/tools/motodevstudio/download/
2. Run the Installer

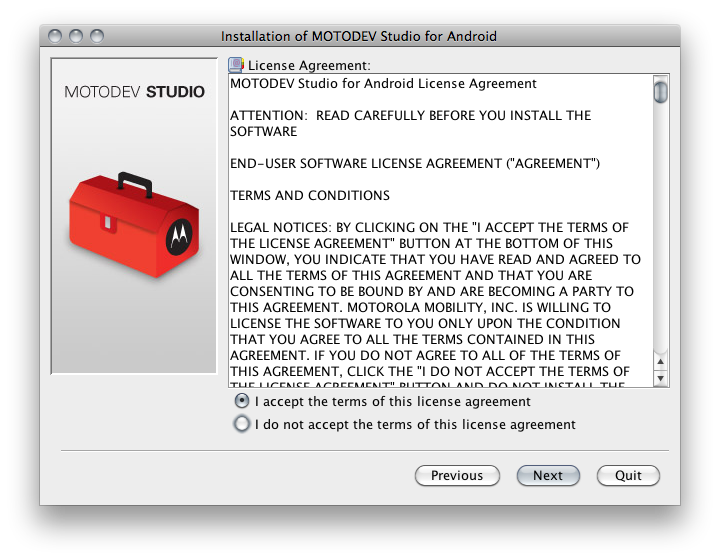
Accept the License Agreement
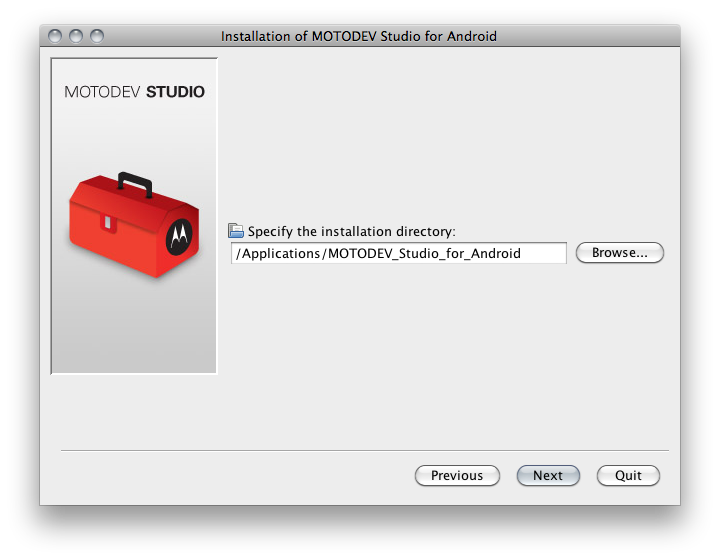
Specify Where to Install Studio
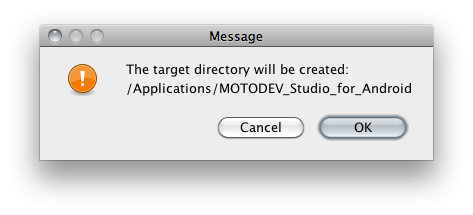
If necessary, the installer will create the install directory for you.
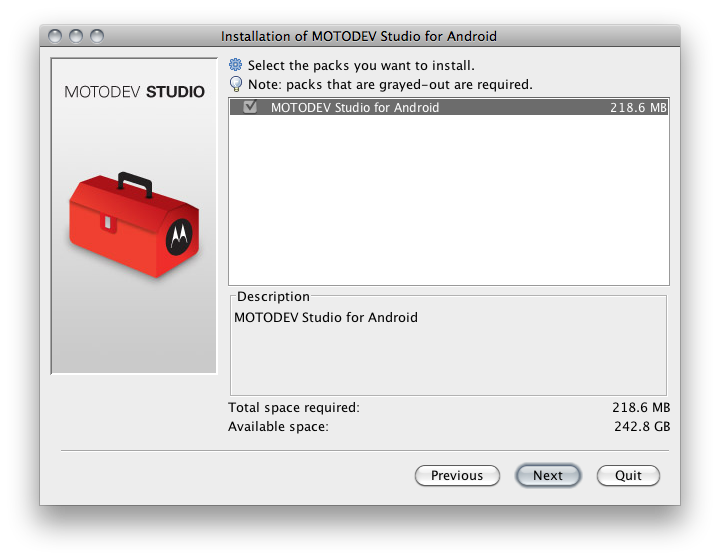
Select what to install (no real choice here).
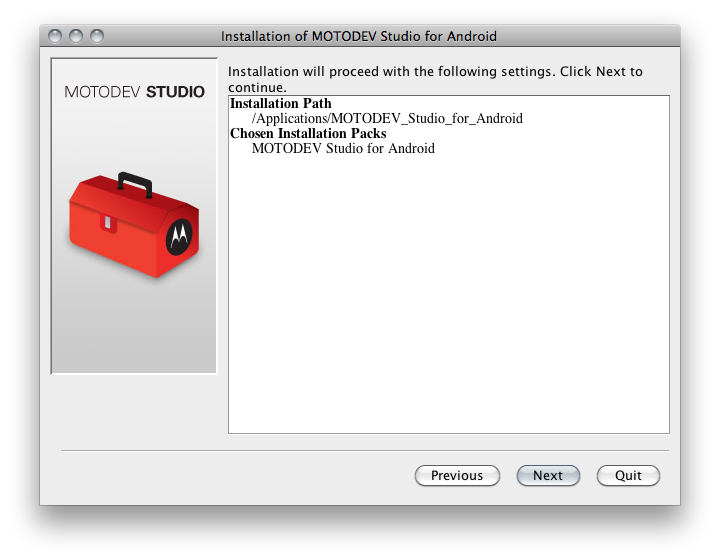
Confirm the install routine.
Let the installer do its thing.

Click Next when the install finishes.

Click Finish to complete the installation.

3. Start MOTODEV Studio
Choose a workspace. I chose to create one for Studio 4.

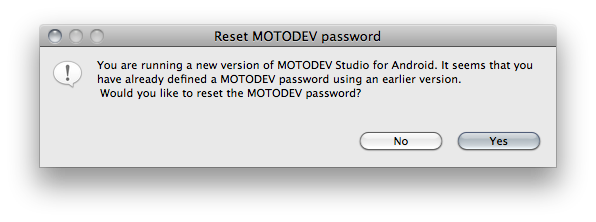
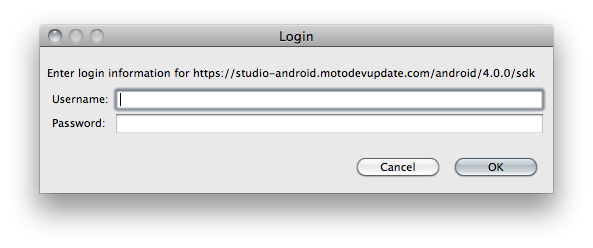
If you are upgrading, you may be asked to reset your password. I chose not to reset my password so that my login credentials remained unchanged. You will need your developer credentials momentarily.
Studio won't find an SDK initially. That is not a problem - you will download an SDK in the next few steps. Choose Close.

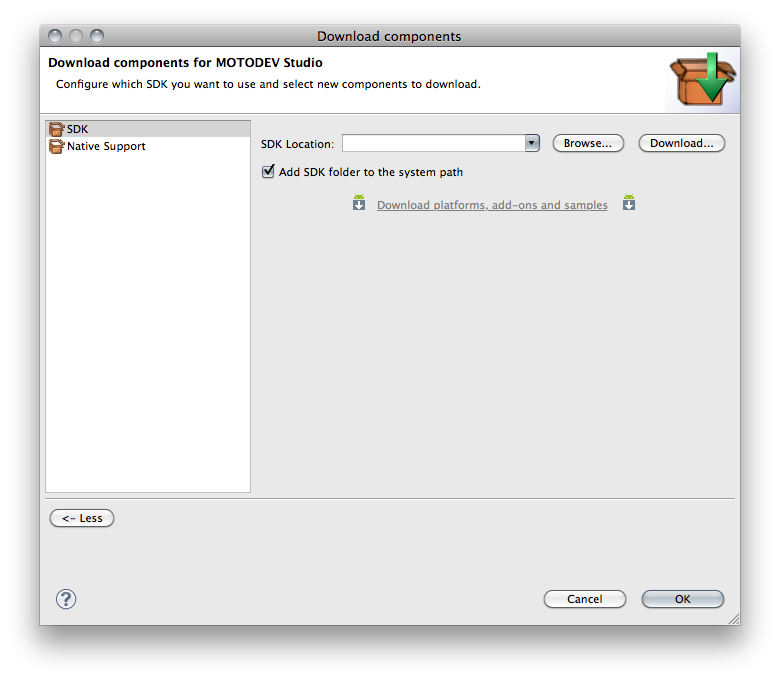
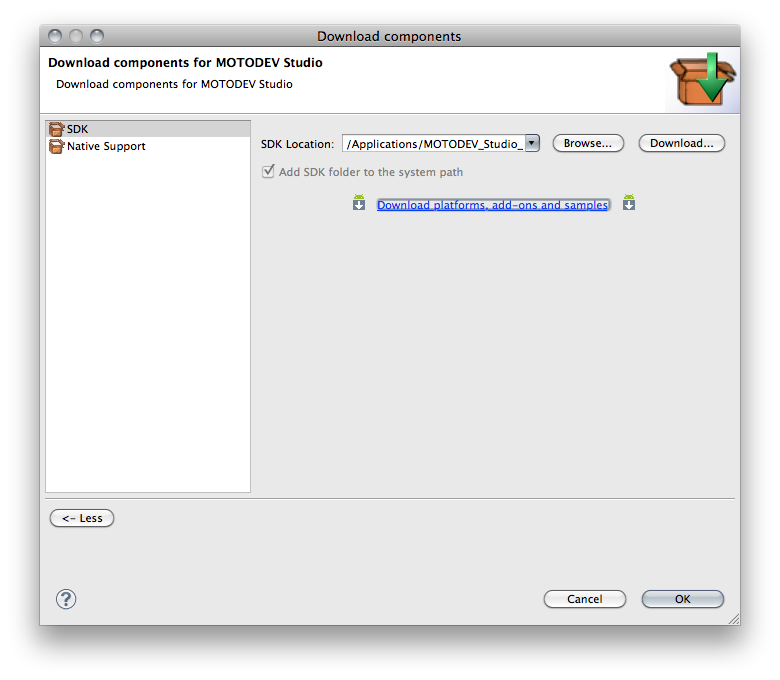
From the MOTODEV menu, choose Download Components.

In the Download Components dialog, click Download...
If necessary, enter you Motorola developer credentials.
Choose where to install the SDK. I chose the Studio installation folder. It just makes it easy to keep track of there.
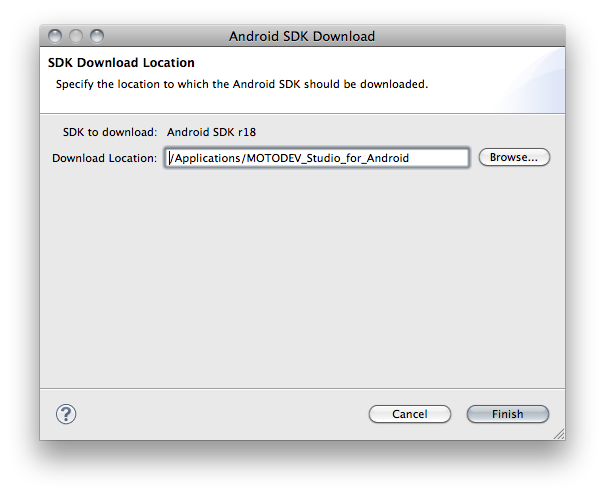
Click Finish. Studio will download and install the compatible SDK.

Click OK to dismiss the Download components dialog.
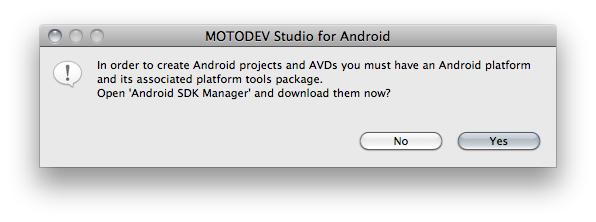
This is important. When you are prompted to Open the Android SDK Manager, Click No. The SDK Manager is the problem!
Exit from MOTODEV Studio.
4. Download the Android Platforms You Wish To Target to a clean directory.
Gingerbread - Android SDK Platform 2.3.3 r2
Honeycomb -Android SDK Platform 3.0 r1
Ice Cream Sandwich - Android SDK Platform 4.0.3 r2
If you plan to target Ice Cream Sandwich, you will also need a system image - ARMV7 System Image
Note: SDK Platforms above 2.0 work on all OS Platforms including Windows, Linux and Mac OS X. Don't worry about the file name - some of them include Linux in the file name but they will work on Windows and Mac OS X as well.
For the same reasons I mention in the text, you should install the Gingerbread platform, at the very least. Simply put, more devices support Gingerbread than any other platform. If you target Gingerbread, you will reach the maximum number of devices. The good news is that you can install multiple platforms. I chose to install Gingerbread and Ice Cream Sandwich. For now, Jelly Bean isn't supported.
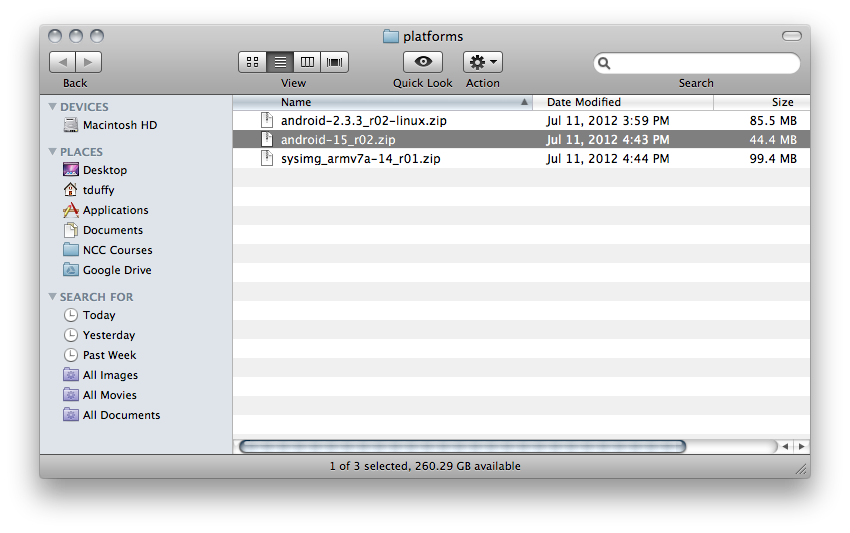
5. Unzip the files you just downloaded.
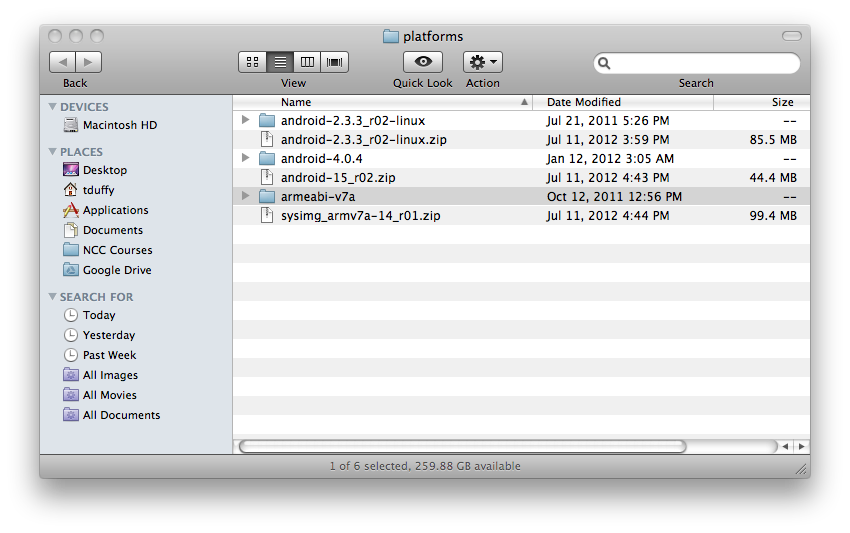
6. Navigate to the <Android SDK >/platforms folder and copy the Platform folders there.
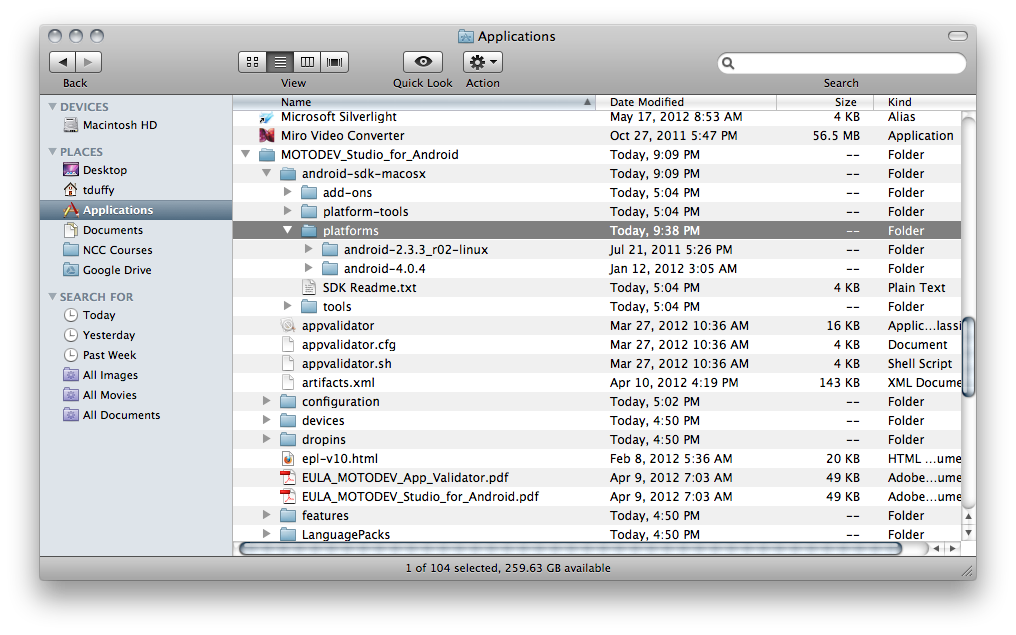
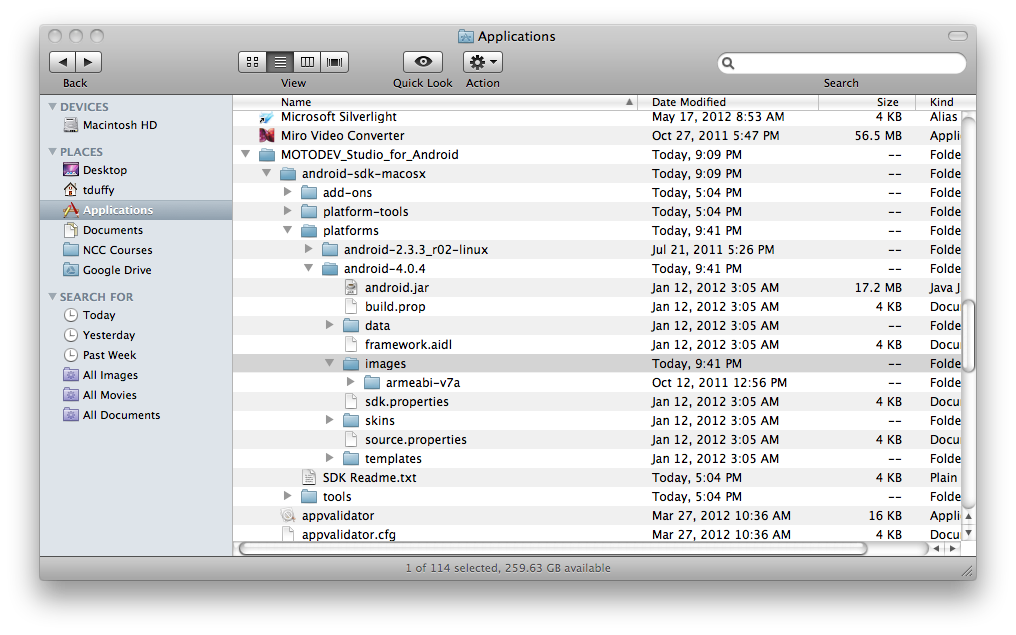
7. Expand the android-4.0.4 folder and create a folder named images. Copy the System Image folder there.
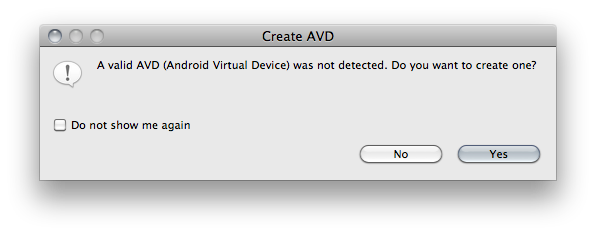
8. Start MOTODEV Studio. Choose a workspace. When prompted to create a valid AVD, choose yes.
I will create the Gingerbread AVD. It could easily have been the Ice Cream Sandwich AVD. Name the Device.

Set properties of the device. I chose to create a New 16 GB SD Card and enable snapshots.
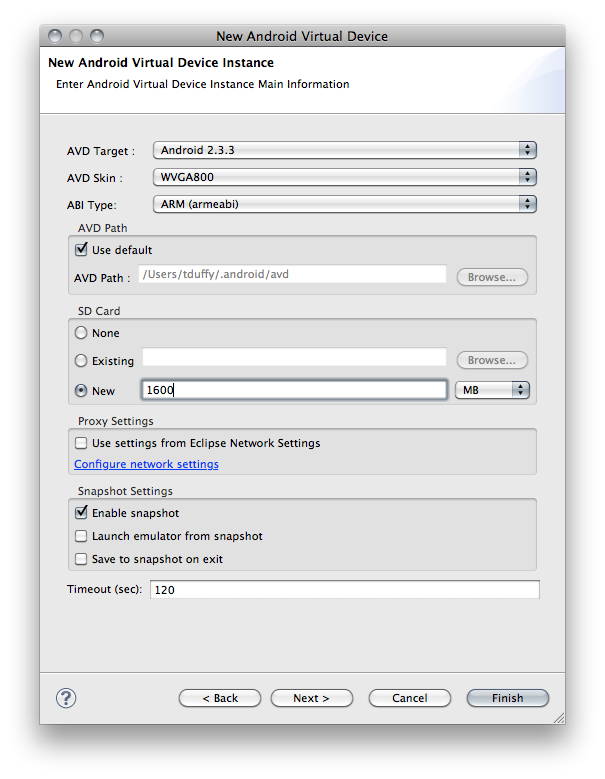
Click Finish. The AVD will be displayed in the Device Management Tab.

Congratulations! You are now ready to use MOTODEV Studio 4.0 to create that killer app! To create another AVD, right-click Android Virtual Device on the Device Management tab, choose New, and follow the steps above.
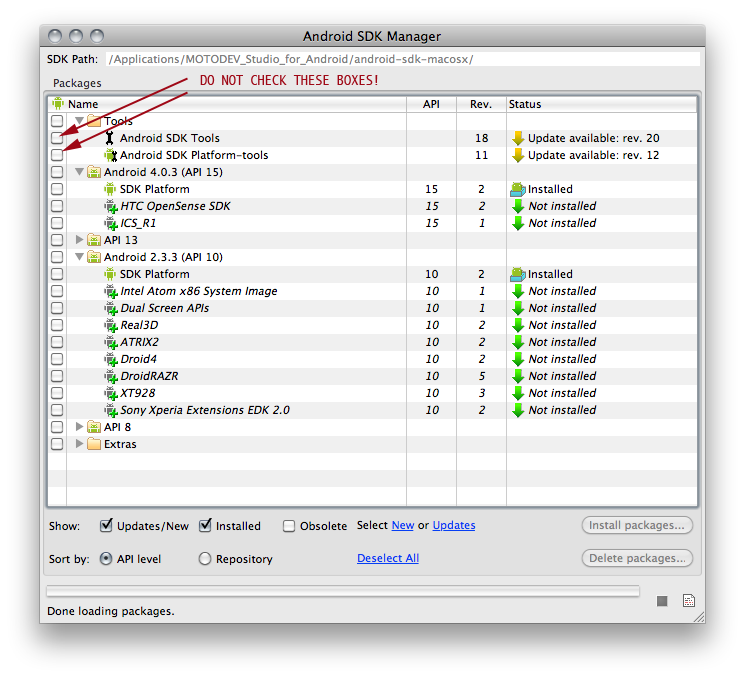
9. Going Forward. The problem lies with the Android SDK Manager. If you are feeling adventurous, Choose Android SDK Manager from the Window menu.

Traditionally, the SDK Manager displays the currently installed components and platforms as well as available components and platforms. As you can see, the SDK Manager isn't functionaing correctly. Yes, there are updates available for the Android SDK Tools and Android SDK Platform-tools. If you update either of those tools, you will break Studio. You will need to uninstall and then start from scratch. At an appropriate time, I suspect Motorola will update Studio to include Jelly Bean. And, hopefully, Google will fix the SDK manager so that it can handle this use case.