Your First Netbeans AJAX Application
Netbeans is a great environment to develop AJAX applications. Netbeans has built-in editors for HTML, CSS, XML, and JavaScript files. The Web and Java EE bundle includes Apache Tomcat - a general purpose servlet container and, more importantly, a web server. Most AJAX development centers on the XMLHTTPRequest object. In short, the XMLHTTPRequest object allows your pages to interact with the server without refreshing or reloading the page.
The XMLHTTPRequest object has been available in Microsoft's Internet Explorer for some time. It was slow to take off simply because it was browser-specific. Now that Firefox, Safari, and Opera support the XMLHTTPRequest object natively, it is possible to write a single script for your AJAX applcation that has very little code intended for a single browser. In fact, for the most part, the only way browsers differ is in how they create the object - we'll get to that in a moment.
AJAX became popular with the advent of Google's suggest mechanism. You are probably so used to using it that you don't notice - but at the time it was written, Google suggest was revolutionary. Think for a moment how suggest works: you begin typing in an HTML text field and Google pops up some suggestions as to what you are typing. From where do those suggestions come? They certainly aren't sent along with the initial page - that would be the most bloated page ever created! Instead, each time you type a character, the page communicates with the server behind the scenes and asks for possible completions to your text. That's how the list gets shorter and shorter! As you are about to discover, communicating behind the scenes takes some JavaScript and the XMLHTTPRequest object.
So, why do we need Netbeans? Well, it happens to integrate all of the things a typical AJAX application requires. You can author all of the filetypes necessary right within the IDE. When you run your files, Netbeans automatically starts the web server and the browser and serves the file to the browser. That's important: AJAX works with the http:// protocol - the file protocol won't work. The usual development cycle is virtually identical to any programming cycle. You write all the files necessary for your application and then run them from within the IDE. If something doesn't work, you fix it and then re-run the file.
Let's get started with a simple example.
1. Start Netbeans.
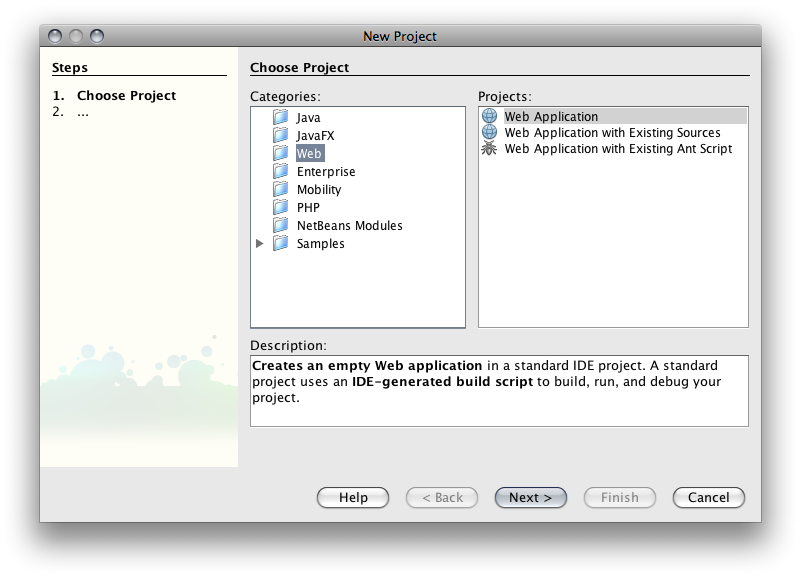
2. From the File menu, choose New Project. Highlight the Web Folder and choose Web Application. Click Next.
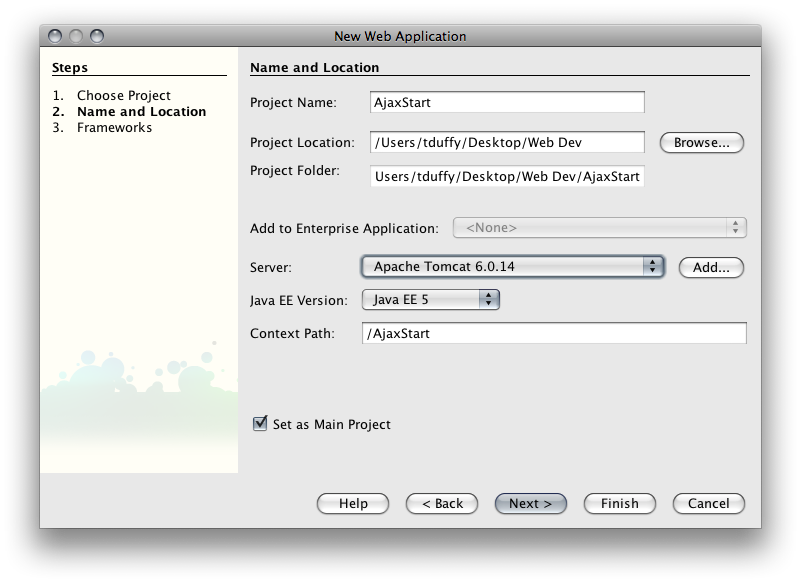
3. Name the Project AjaxStart. Click the Browse button to decide where you'll store the files for the project. Make sure The Server is set to Apache Tomcat (your version may be different than mine). Click Next. Don't see Tomcat? Click Here.
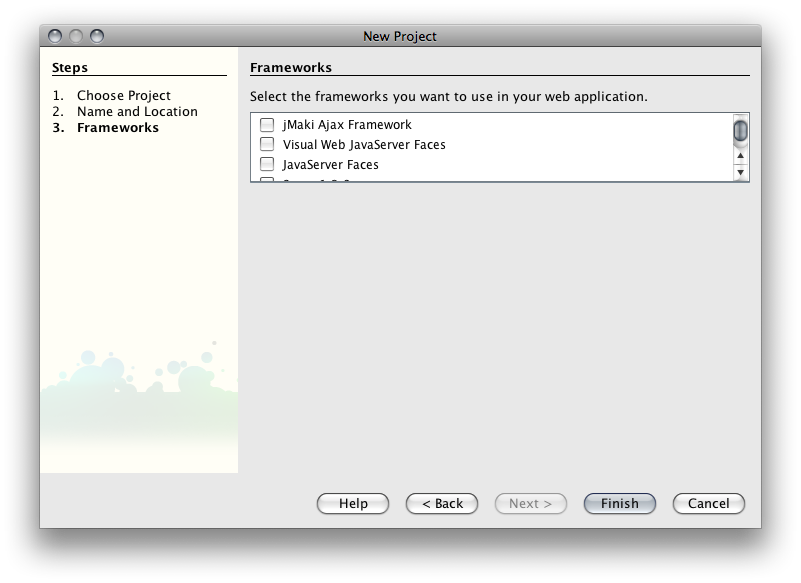
4. You won't need any Frameworks for this project. Click Finish.
5. Netbeans works via a Project metaphor. That is, Netbeans will organize all of the files in your project for you. The good news is that Netbeans adheres to the Java Web Application standard. That's not too important for AJAX apps, but it works just the same. Netbeans should have created something for you that looks like this:
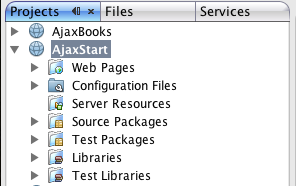
6. You've probably figured out that we'll store all of our files in the Web Pages folder. In fact, Netbeans creates an index.jsp page for us. We won't use that page for this application but it can be convenient. Getting a file into your application is relatively easy. Right-click the Web Pages folder and choose New > HTML...
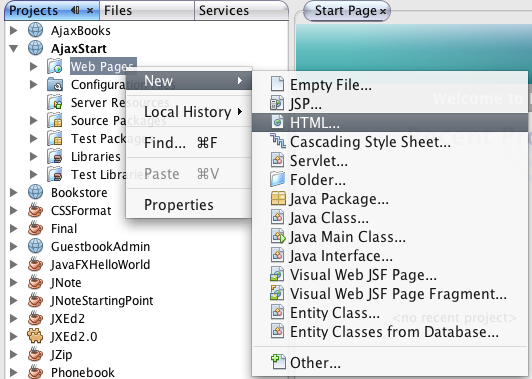
If the HTML file isn't available, choose Other.
Navigate to the Web Folder and Choose HTML file.
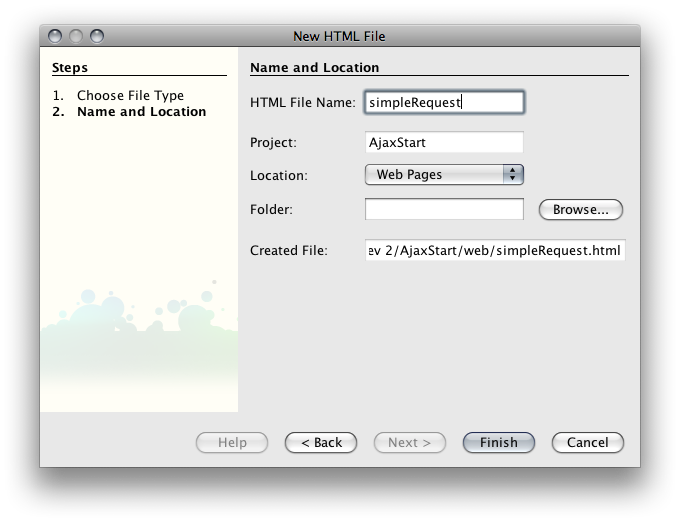
7. In the New HTML File dialog, name the file simpleRequest. Click Finish.
8. Netbeans should create the file for you and open it in the editor. Type in the following code between the <body> tags:
<form><input type="button" onclick="getData()" value="Get Message"/>
<div id="message">Message Goes Here</div>
</form>
There are a few things to note in the above code. First - notice that the <form> element doesn't have an action attribute. AJAX applications generally don't submit forms as that requires a round trip for the entire page to the server. Rather, a function is called that does all of the AJAX magic. In this case it is the getData() function. Second, notice that the button is not a submit button - it is a generic button with an onClick event handler assigned. That makes sense too if the form will never be submitted.
9. Add a <script> block to the <head> of the document and write the JavaScript code that does the retrieval of the information.
<script type="text/javascript">
   var req=null;
   function xhr(){
   	try{
   		// Firefox, Opera 8.0+, Safari
   		req=new XMLHttpRequest();
   	}catch (e){
   		// Internet Explorer
   		try{
   			req=new ActiveXObject("Msxml2.XMLHTTP");
   		}catch (e){
   			req=new ActiveXObject("Microsoft.XMLHTTP");
   		}
   	}
   return req;
 }
   function getData(){
   	req = new xhr();
   	req.open("get","simpleRequestData.xml");
   	req.onreadystatechange = showIt;
   	req.send(null);

   }

   function showIt(){
   	if(req.readyState==4){
   		if(req.status==200){
   			var doc = req.responseText;
   			alert(doc);
   			document.getElementById("message").innerHTML = doc;

   		}
   	}
   }
</script>
The xhr() function creates the XMLHTTPRequest object. As you can see, browsers create the object differently. For Firefox, Safari, and Opera, the object is created by the window object - it is built in to the JavaScript implementation supported by those browsers. Not only does IE do it differently, but it matters which version of IE you are running and which version of the ActiveX control that instantiates the object is installed on the user's machine. Currently I am using Firefox 3.0.5, Safari 3.1, and IE 7 to test my code.
Here are the methods supported by the XMLHTTPRequest object:
| Method | Description |
|---|---|
abort() | Stops the current request |
getAllResponseHeaders() | Returns complete set of headers (labels and values) as a string |
getResponseHeader("headerLabel") | Returns the string value of a single header label |
open("method", "URL"[, asyncFlag[, "userName"[, "password"]]]) | Assigns destination URL, method, and other optional attributes of a pending request |
send(content) | Transmits the request, optionally with postable string or DOM object data |
setRequestHeader("label", "value") | Assigns a label/value pair to the header to be sent with a request |
And here are the properties of the XMLHTTPRequest object:
| Property | Description |
|---|---|
onreadystatechange | Event handler for an event that fires at every state change |
readyState | Object status integer: 0 = uninitialized 1 = loading 2 = loaded 3 = interactive 4 = complete |
responseText | String version of data returned from server process |
responseXML | DOM-compatible document object of data returned from server process |
status | Numeric code returned by server, such as 404 for "Not Found" or 200 for "OK" |
statusText | String message accompanying the status code |
As you can see from the getData() method, the open() and send() functions are called. The open() function takes 2 required parameters. The first represents the method and is analogous to the method attribut of a <form> element. Get and Post are the 2 most common values passed. The URL parameter specifies where to make the request and is analogous to the action attribute of a <form> element. In this case we are doing a simple get request for an xml file named simpleRequestData.xml. We'll create that file in a moment. The async, userName, and password are optional parameters. Async allows you to send requests asynchronously and is true by default. Note that if you set the async property to false, your application will wait until the request is fulfilled - possibly freezing your user interface. The send() function actually makes the request of the URL. Since we are doing a simple get and I don't need to send anything along, I passed in null.
After the request is made, the readyState property is checked and each time the showIt() function is called. If it equals 4 - complete - the code moves on. Then the status property is checked. If 200 - OK - is returned, the interesting stuff happens. First, a variable is created to hold the responseText of the request. That is, the response from the URL is stored as text in the doc variable. In this case, that's the XML contained in the simpleRequestData.xml file. Then, the content of the doc variable is assigned to the innerHTML property of the message <div>.
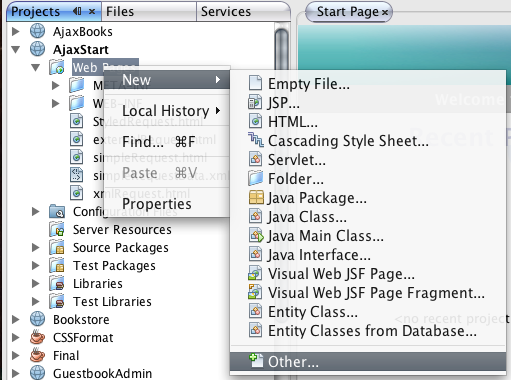
10. Create the simpleRequestData.xml file. Right-click the Web Pages folder and choose New > Other.
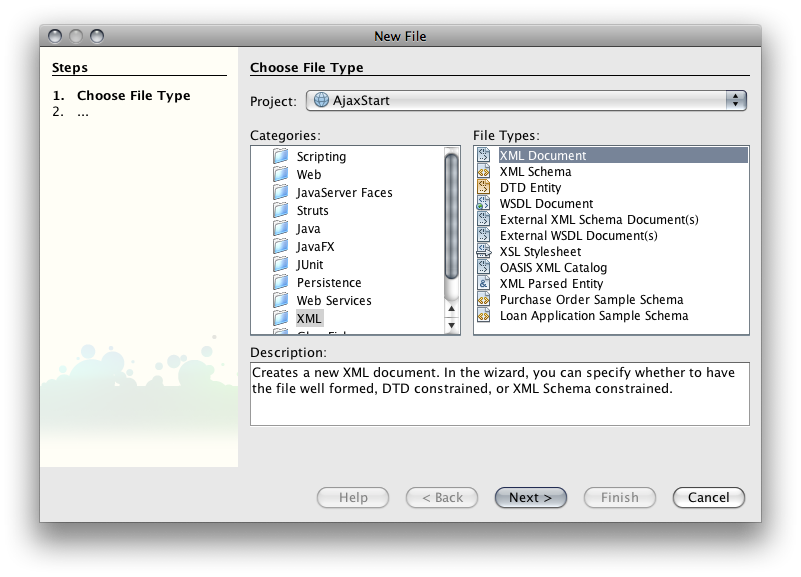
Then choose the XML folder and XML Document. Click Next.
Name the file simpleRequestData and click Next.

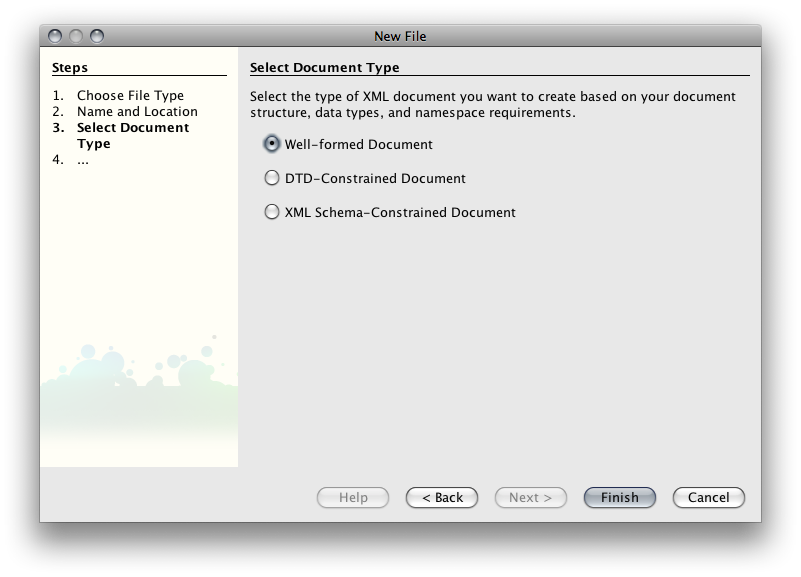
Choose Well-formed Document and click Finish.
11. Netbeans will create the file for you and open it in the editor. Modify it so that it reads:
<?xml version="1.0" encoding="UTF-8"?>
<root>
     <message>This is the message</message>
</root>
Save the file.
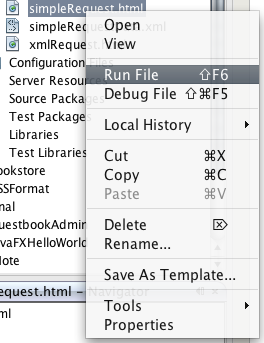
12. You are now ready to Run the application. Right-click simpleRequest.html and choose Run File.
Your browser should open with a single button on the page. If your browser didn't start, try opening it and navigating to http://localhost:8080/AjaxStart/simpleRequest.html. Click the button and the message <div> should change. Note that we passed an XML string to the innerHTML property. Since browsers don't know how to display <message> elements, the default behavior is to simply display the data. That works beautifully here but, as I'm sure you can see, a more robust solution is necessary for most applications.